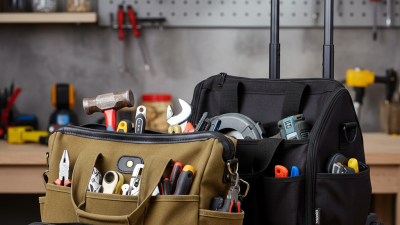
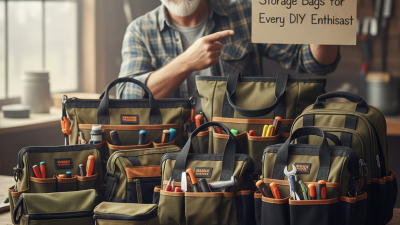
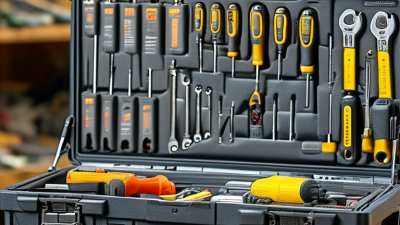
A tool bag is more than a container; it is part of a worker’s daily setup. It gets lifted from a van, set on gritty concrete, and opened repeatedly with gloved hands. Small failures matter. A torn handle or jammed zipper can disrupt a busy job.
The U.S. Bureau of Labor Statistics projects 7% employment growth for construction laborers and helpers from 2024 to 2034, with about 149,400 openings annually. These figures do not measure tool-bag demand. They do, however, point to a large workforce that regularly carries equipment between tasks and work sites. In 2026, choosing the right Heavy Duty Tool Bag means looking beyond capacity and rugged-sounding labels. Check stitching, handle attachment, base protection, zipper access, pocket layout, and the bag’s weight when empty. Specifications matter. So does the carry. A bag that holds every tool may still feel awkward on stairs or tip over in a crowded van. That trade-off deserves attention, not marketing gloss. This guide explains what to compare, how materials and construction affect everyday use, and which features suit different trades. No single bag fits every worker. The best choice depends on the tools, the route, and how often the bag gets moved.
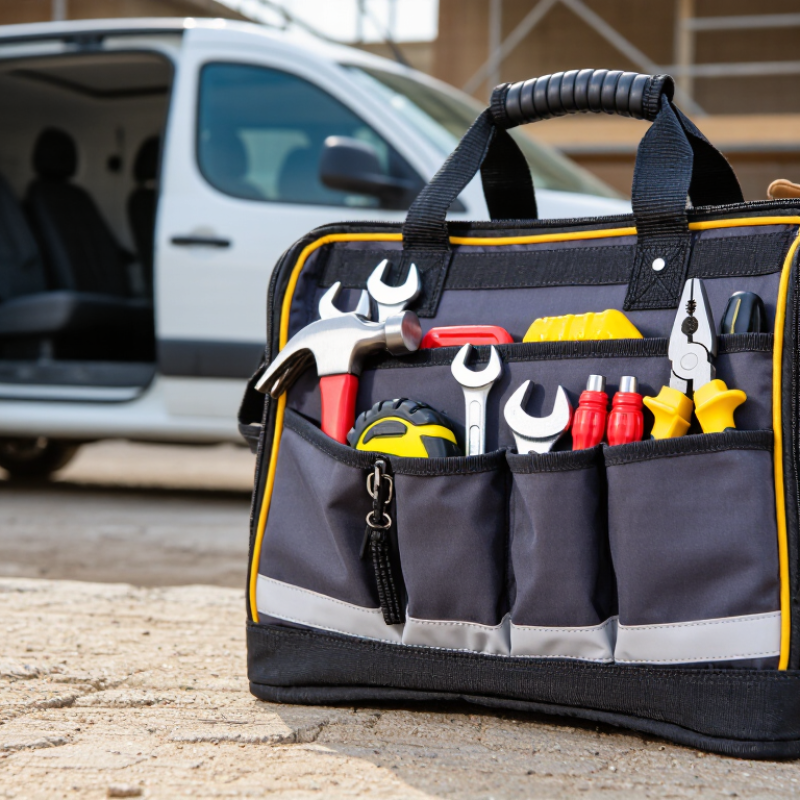
Start with the workday, not the bag’s advertised capacity. List the tools used on a normal shift, then add items needed for one less-common repair. A service technician may need labeled pockets for meters and bits; a carpenter may need a wide opening for a tape, square, and fasteners. Count the steps. A bag carried up ladders or across gravel needs a stable base, secure closures, and comfortable handles. A rolling bag may be awkward on stairs.
The U.S. Bureau of Labor Statistics reported 2.6 million nonfatal workplace injuries and illnesses in private industry in its 2023 Survey of Occupational Injuries and Illnesses. That figure does not measure tool-bag injuries, but it supports taking daily handling and movement seriously. NIOSH’s Revised Lifting Equation uses a 51-pound load constant only under ideal lifting conditions; real task factors reduce recommended limits. It is not a tool-bag weight limit. Treat it as a reminder to assess the loaded bag, not just its empty weight.
Weigh your typical load, including batteries, water, and small parts. Check whether the shoulder strap spreads pressure and whether the contents stay put when you bend. A common planning mistake is packing for every possible job. Challenge that list: which tools did you actually use last week? Needs change, and even a careful inventory can miss the one awkward item that never fits. Choose pocket sizes around real tools, then test the loaded bag on your usual route before committing.
Identify your work requirements and tool-carrying needs. The suggested evaluation weights below are a practical starting point—not survey results. Adjust them to match your tools, worksite, and carrying routine.
How to use this chart: Prioritize capacity and construction for bulky, heavy tools; emphasize comfort and organization if you carry the bag frequently or need quick access to specific tools. Check the bag’s stated load capacity and dimensions against your actual kit before buying.
A heavy-duty tool bag should suit the work, not just look rugged. Thick canvas resists scuffs and holds its shape, but it can feel heavy when full. Polyester or nylon is often lighter and may handle damp conditions better; check the coating and seams, since fabric alone does not tell the whole story. Small details matter. Run a hand along the stitching and inspect handle attachments, zipper tracks, and the bottom panel. A reinforced base helps keep sharp tools from pressing through, though it will not prevent every kind of wear.
Tips: Check the stated load rating, then compare it with the tools you actually carry. A scale can help. Add up heavy items such as a drill, hammer, and socket set, and leave room for small parts. Keep dense tools low and close to the center. This can reduce strain on the handles and make the bag less awkward to lift.
Treat capacity figures as a guide, not a promise of comfort. Two bags with the same rating may carry very differently, depending on handle width, strap padding, and weight distribution. If possible, load the bag before buying and walk a few steps with it. A rating on paper can still feel optimistic after a long shift. Check whether the bag stays upright when partly filled, too; loose tools sliding into one corner can make access frustrating. The best choice depends on your daily load and the conditions it faces.
Choose a heavy-duty tool bag around the tools you carry daily, not its advertised capacity. Lay out your drill, meter, pliers, fasteners, and personal protective equipment before choosing dimensions. A bag that is too deep can bury small tools; one that is too narrow may force sharp edges against the fabric. Measure your longest tool, then leave room to remove it without unloading the bag. That small detail matters.
Compartments should keep frequently used items visible and heavier tools low and close to your body. The NIOSH Applications Manual for the Revised NIOSH Lifting Equation (1994) sets a 51-pound recommended weight limit only under ideal lifting conditions; the limit decreases with factors such as reach, twisting, and repetition. This is not a tool-bag weight rating. It is a reminder that a packed bag’s handling matters as much as its capacity. Heavy tools packed at one end can make a bag awkward, even when its total weight seems manageable.
Try the layout with your actual kit. Keep a tape measure and driver near the opening, and place bulky tools in the main compartment. Check that pockets do not snag tool handles. A rigid base helps the bag stay upright, but it adds weight. I still find this trade-off easy to underestimate. Carry the loaded bag briefly before committing; comfort is hard to judge on an empty shelf.
A heavy-duty tool bag should feel controlled when loaded, not merely sturdy on a shelf. Check the handle stitching and how the grip sits in your hand. A padded, balanced handle helps when carrying drills, meters, and small parts across a worksite. Tug gently at the seams and inspect the attachment points. They reveal more than a thick-looking handle does. Test it loaded.
Shoulder straps need wide padding, strong adjustment buckles, and secure anchors. Walk a short distance with the bag; notice whether it swings or presses into one shoulder. A strap that feels comfortable empty may dig in once tools are inside. Wheels can help with heavier loads on smooth floors, but they add bulk and may catch on rough steps. I have sometimes overvalued wheels; a good grip matters more when stairs are part of the route.
Look for a stable base, reinforced corners, and closures that stay shut when the bag tips. Bright interior lining can make a dark socket easier to spot. Reflective details may improve visibility in dim work areas, though they do not replace safe lighting. Check the maker’s stated load limit, then consider your actual tools and how often you lift them. A bag packed to its limit can strain seams and handles. Leave some room.
A heavy-duty tool bag earns its price through repeated use, not a rugged look on a shelf. Examine the fabric, seams, zippers, handles, and base before comparing prices. Dense fabric resists abrasion, while reinforced stitching helps loaded handles withstand daily lifting. A stiff, water-resistant bottom is useful on damp concrete, though it may add weight. Small details matter. Check whether sharp-edged tools rub against thin inner dividers.
Price tags alone reveal little. Compare cost with capacity, warranty terms, repair options, and your expected work schedule. A bag used every day may justify stronger materials and replaceable parts. For occasional home repairs, a lighter, lower-priced bag can be better value. Still, the cheapest option may need replacing after a seam splits or zipper teeth fail. Test it loaded. Lift a realistic set of tools several times; an empty bag can feel misleading.
Long-term value also depends on fit. Choose enough space for the tools you actually carry, but avoid excess room that lets metal tools collide. Separate pockets can speed access and reduce wear, yet too many may waste space. Some bags feel durable but become awkward when fully loaded. That trade-off is easy to miss. After a few weeks, inspect corners and handle attachments, and notice whether dirt or moisture is difficult to remove.
| Bag Type | Typical Construction | Typical Capacity | Indicative Price (USD) | Durability Considerations | Best Suited For | Long-Term Value |
|---|---|---|---|---|---|---|
| Open-top tote | Heavy woven polyester or nylon; reinforced handles; often includes a rigid or semi-rigid base | Approximately 15–25 gal | $30–$90 | Check handle stitching, base reinforcement, and whether the opening stays upright. An open top provides quick access but offers limited protection from rain and dust. | Frequent access to hand tools on indoor jobs or short site visits | Good when access speed matters more than weather protection; replaceable inserts can extend useful life. |
| Zippered tool duffel | Thick textile body with a full-length zipper, reinforced end panels, and carry handles or a shoulder strap | Approximately 20–40 gal | $40–$120 | Zippers and strap attachment points are common stress areas. A covered zipper and reinforced seams can help with daily transport, but fabric bags are not automatically waterproof. | Moving larger tools between a vehicle, workshop, and job site | Strong value for bulky loads if the zipper is sturdy and the bag is not routinely overloaded. |
| Structured rolling bag | Textile or molded body with a reinforced base, telescoping handle, and wheels | Approximately 20–35 gal | $80–$220 | Wheels, axle mounts, and the telescoping handle can wear or break, especially on rough ground. Larger wheels and replaceable components improve serviceability. | Heavy tool loads and longer walks across relatively smooth surfaces | Potentially high value when it reduces lifting; less suitable for stairs, gravel, or frequent rough-terrain use. |
| Molded hard case | Rigid plastic shell with latches, a gasket on some models, and fitted or removable interior storage | Approximately 5–20 gal | $50–$180 | Protects contents from impacts better than a soft bag, but latches, hinges, and seals need inspection. Water resistance depends on the specific design and closure system. | Precision tools, meters, or equipment that benefits from impact and dust protection | Good value when tool protection is the priority; less flexible for irregularly shaped or oversized tools. |
| Modular tool backpack | Reinforced textile shell with padded straps, multiple compartments, and a shaped or reinforced base | Approximately 10–20 gal | $60–$170 | Inspect shoulder-strap stitching, back-panel padding, and the base. A backpack distributes weight across both shoulders, but excessive loading can still strain seams and the wearer. | Technicians who carry tools on foot or need both hands free | Good value for mobile work when fit and organization reduce carrying strain and tool-search time. |
| Heavy-duty tool chest or box | Rigid resin or metal construction with a reinforced lid, latches, and a carry handle | Approximately 10–30 gal | $40–$200 | Rigid walls resist crushing better than fabric, while hinges, latches, and handles remain potential failure points. Metal versions may be heavier and can dent or corrode if poorly maintained. | Workshop storage, vehicle storage, and transporting a consolidated tool set | Often a durable choice for organized storage; portability depends on weight, handle design, and whether wheels are included. |
| How to compare: Price ranges are broad planning estimates in U.S. dollars, not live quotes; actual prices vary by size, materials, features, and retailer. Capacity figures are approximate and are not directly comparable across all shapes. For longer service life, compare stitching and reinforcement, base protection, closure quality, wheel or handle serviceability, and the load rating where one is provided. Choose a bag that fits the tools you carry rather than relying on a “heavy-duty” label alone. | ||||||